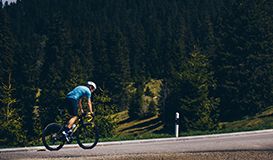
To put it simply, a bicycle seatpost is the tube that connects your bike frame to the saddle you sit on. While often overlooked, the ideal seatpost can play an important role in improving ride quality. In today's blog, we'll dive into the world of seatposts.
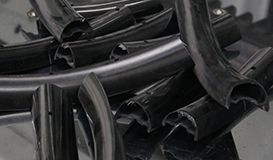
Materials
Aluminium and carbon fiber are the two major seatpost materials.
Aluminium seatposts are cheaper to manufacture and exhibit good durability. They also tend to be less comfortable as they don't share the vibration damping qualities of carbon fiber.
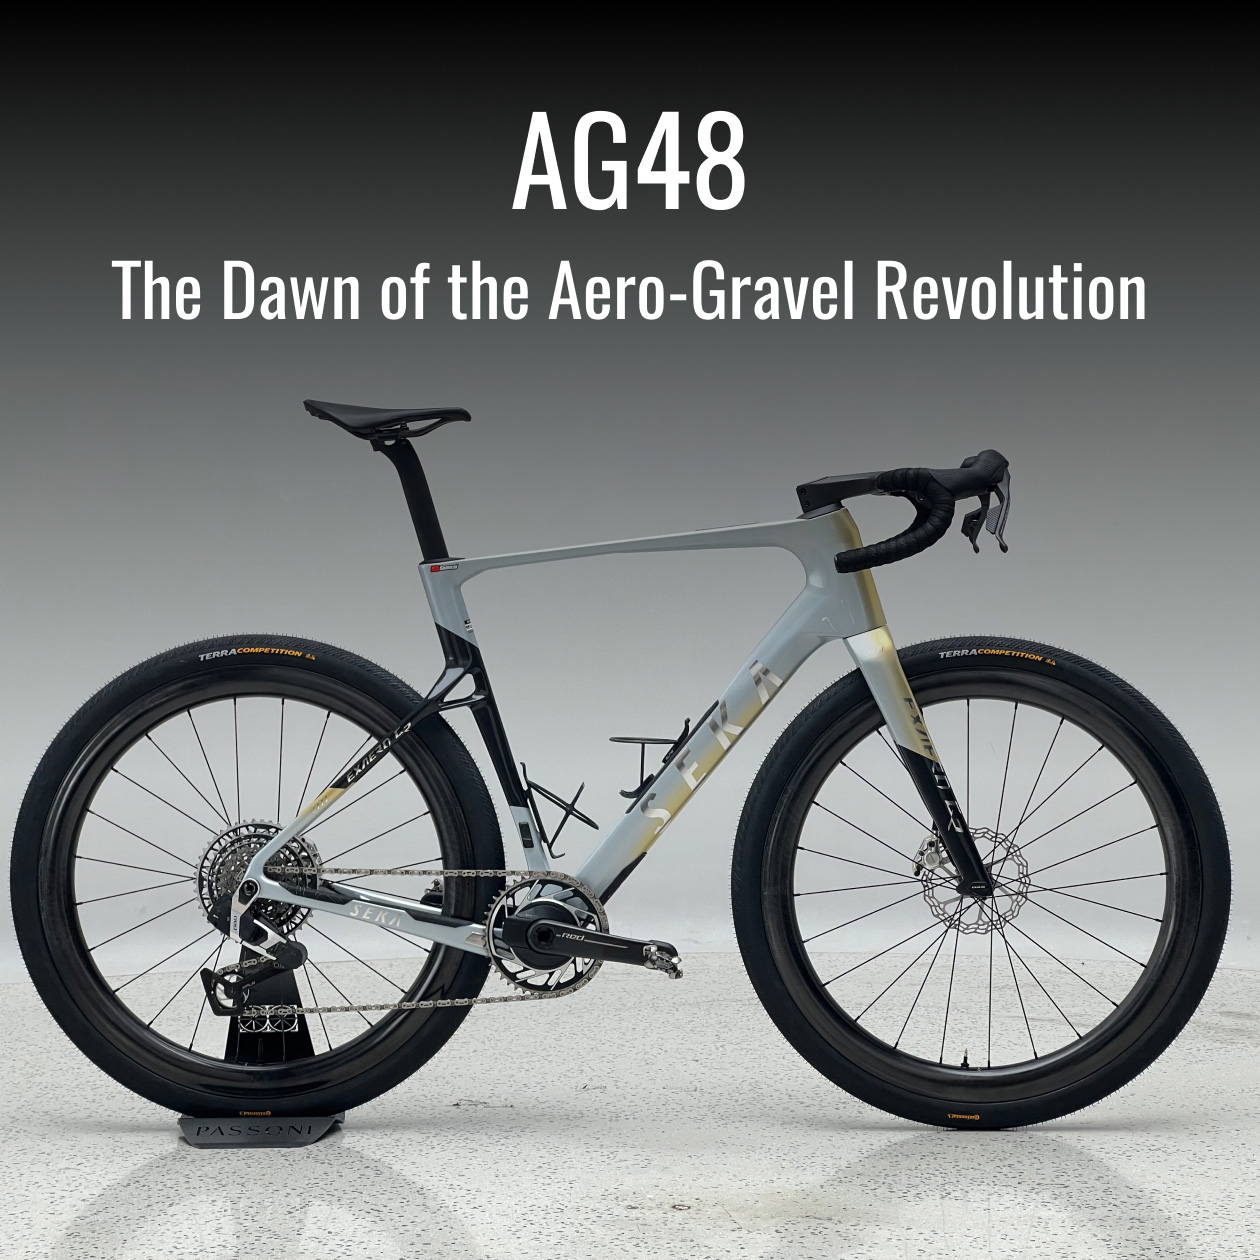
Carbon seatposts stand out as the optimal choice for premium bikes. While they can be more expensive, they're lightweight and offer a more comfortable ride. Our Journey frame comes equipped with a carbon seatpost, designed for riders who appreciate a premium ride quality.
Sizes
Seatpost sizes vary widely from bicycle to bicycle.
The diameters for most modern road and mountain bikes are typically 27.2mm, 30.9mm, and 31.6mm. BMX normally uses a 25.4mm seatpost.
Lengths range broadly from 75mm to 430mm, with mountain bike seatposts generally longer than road bike seatposts. Road cyclists prefer shorter seatposts for weight reduction and adjustment is less of a concern while riding. Longer seatposts are more popular in mountain biking as they can be adjusted to suit different riding disciplines.
The seatpost that comes with our Journey frame has a diameter of 31.6mm and a length of 350mm, with a minimum insertion depth of 105mm. Most seatposts have a minimum insertion depth designed to avoid damaging the frame. The maximum insertion depth of a seatpost will vary with the frame size.
Seatpost Types and Common Features
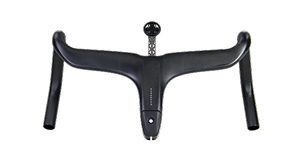
Inline vs. Layback
A layback post has a bend toward the top of the shaft that places the saddle further back on the bike, whereas an inline post is completely straight. The layback can range from 0mm to 45mm long, and is necessary for frames with very steep seat tube angles, allowing riders to place their saddle in an optimal position.
Our Journey frame features relaxed geometry that already puts the seat position slightly behind the bottom bracket. It has a seat tube angle of 73.5°, an angle that fits well with the inline post provided, and will keep you in the saddle when the going gets tough.

Rigid vs. Suspension
Without suspension or dropping capability, rigid posts are the most common type of seatposts and a good choice if you value lightweight components and reliability.
Suspension posts are often used for touring and bikepacking. By absorbing small bumps and dampening vibration overall, they can enable you to enjoy a smoother ride and experience less fatigue. The main disadvantage of a suspension post is cost and an increase in weight.
Dropper posts
While dropper posts have gained tremendous popularity among mountain bikers in recent years, gravel bikers have also started to see the light. A switch or lever mounted on the handlebar or saddle allows riders to drop their saddles quickly for a technical descent.
Our Journey frame features full internal dropper routing, making it easy to upgrade to a dropper post for gravel and adventure rides.
Aero posts
Significantly different from most posts in appearance, these posts are shaped to match the shape of aero seat tubes. As the name indicates, they're aero-oriented and intended to be used on race-focussed road bikes and TT bikes.
How do you install a carbon seatpost?
There are 3 steps to installing a carbon seatpost.
1. Apply a thin layer of carbon assembly paste onto the seatpost and inside the seat tube to prevent the parts from moving.
2. Insert the seatpost into the seat tube. Mind the minimum insertion depth marked on the shaft. For example, the number 105mm means the seatpost must be inserted 105mm to ensure that it is safely installed.
3. Torque the bolt on the seatpost clamp to a specific Newton meter (usually 5~6N⋅m) as suggested in the product manual.
We hope this blog has been helpful. If there's any topic you'd like to know more about, please contact us (sales@lightbicycle.com). We're always happy to share!
May 31st, 2022 | Light Bicycle