Tubeless wheels are lighter, faster and more flat-resistant, but they aren’t foolproof! If you find that your tires are leaking excessive amounts of air, there may be some things you can do to remedy the situation. Let’s explore the four most common issues.
1. Rim tape
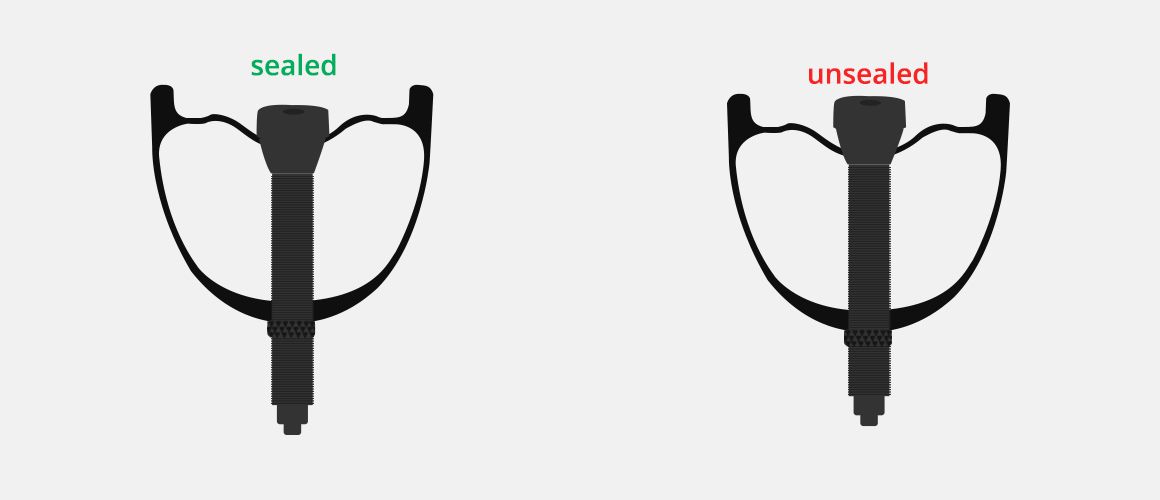
Tubeless rims without access holes for the nipples do not require rim tape. If you have tubeless-ready rims (with access holes), then that means you need tubeless rim tape to cover the holes. This will seal the rim so sealant and air do not get into the rim cavity.
A fairly common problem is that the rim tape is disturbed during tire mounting, usually from applying too much force with a tire lever. This is corrected by removing the tire, and cleaning and re-taping the rim before reinstalling the tire.
Use two laps of tape if you are running pressures greater than 50psi or the tape is not wide enough for your rim, and try to install the tire without levers to avoid further tape damage. By the way, start taping the rim two holes away from the valve hole, which will reduce the risk of rim damage around the valve. Please check the videos carefully if you have no experience in rim taping.
Helpful Videos:
How to pick tubeless tape
How to apply tubeless tape
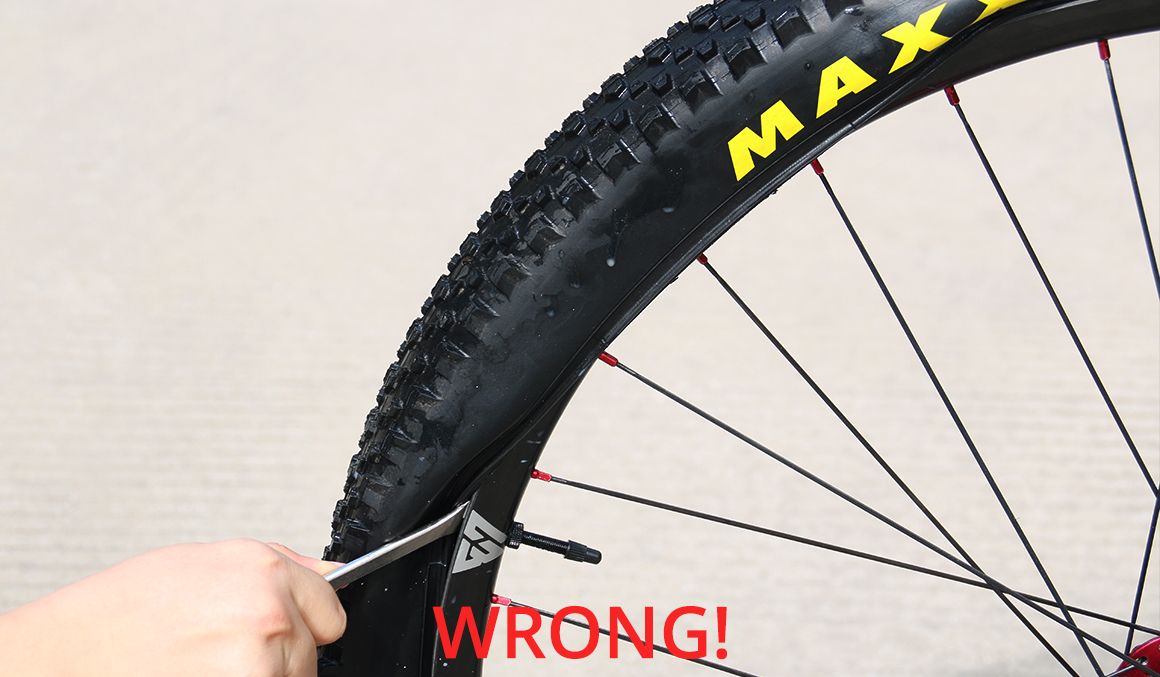
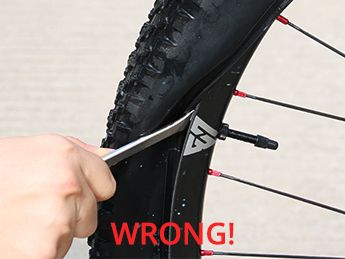
First, never use metal levers for tire mounting. Second, too much force with a lever could ruin the tape.
First, never use metal levers for tire mounting. Second, too much force with a lever could ruin the tape.
2. Tire compatibility & seating
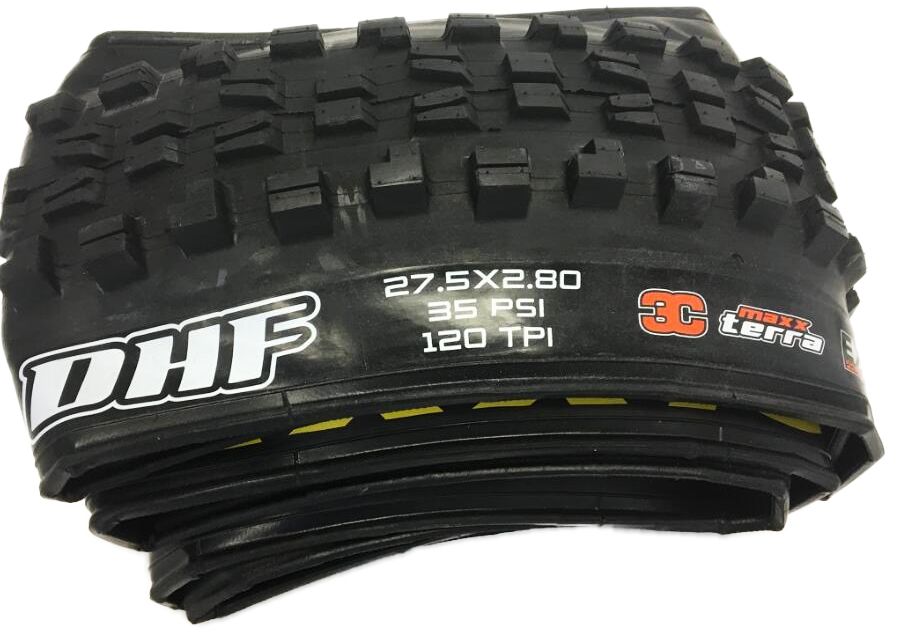
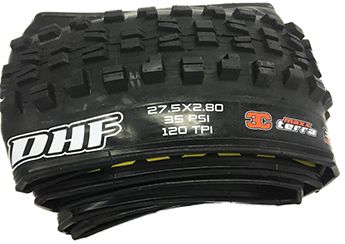
First of all, double-check to make sure your tires are tubeless compatible; if they are not compatible the tire bead won’t be the right diameter, maybe too stiff, and the sidewalls may be too porous.
On new tires, the beads can be bent because they are folded up in packaging. If you’re having trouble seating a new tire, use a tube and inflate the tire overnight to straighten it. If the tire is quite tight, work the tire bead repeatedly into the deepest part of the rim and avoid using tire levers aggressively. Also, try lubricating the rim tape and tire beads with soapy water or sealant.
The easiest way to seat a tire is to remove the valve core and use a compressor to push air into the tire rapidly. Over-inflating the tire can permanently damage the rim. If the tire does not seat at a modest pressure of around 40psi for mountain bike tires, then deflate and troubleshoot the problem. DO NOT inflate further to 50-60psi in an effort to seat the tire, there is likely something else wrong.
If your tires are brand-new, some sealant brands (Peaty’s for example) suggest cleaning the inner wall of tires carefully before injecting the liquid. Otherwise, residues like the release agent may react with the sealant and cause pre-clotting of the liquid, which forms a gelatinous layer on the inner surface, preventing the sealant from plugging small holes when there is a puncture.
Helpful Videos:
How to install tight tires
How to easily seat a tubeless tire
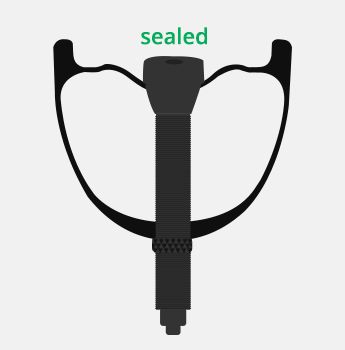
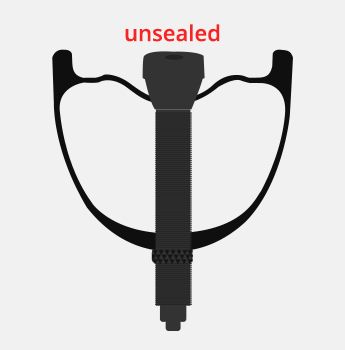
3. Valve not sealed adequately
Check the tightness of the tubeless valve by turning the collar by hand. If this doesn’t correct the issue then remove the tire to do an inspection. Look at the rubber portion of the valve on the inside of the rim, it should be squished down slightly to create a good seal. If it’s not, push down on the rubber portion as you tighten the collar with your fingers. Avoid using tools to tighten the valve as it may over tighten and damage the rim.
If the valve is tight, there may be cracks in the tape near the valve, letting air infiltrate into the rim. Remove the valve to get a closer look and re-tape the rim if needed. When inserting a new valve in the tape, make a tiny “X” with a sharp utility knife, or heat up a piece of metal to melt a little hole where the valve goes. Twist the valve as you push it in so it won’t expand the hole. Tighten it down and re-install the tire with tubeless sealant.
Some brands use valves with a rubber base of irregular shape that doesn’t rest naturally inside our rims. Our valve stems are designed to match the valve hole size and concave rim bed, so it’s best to use our valves or something very similar.
4. Not enough sealant
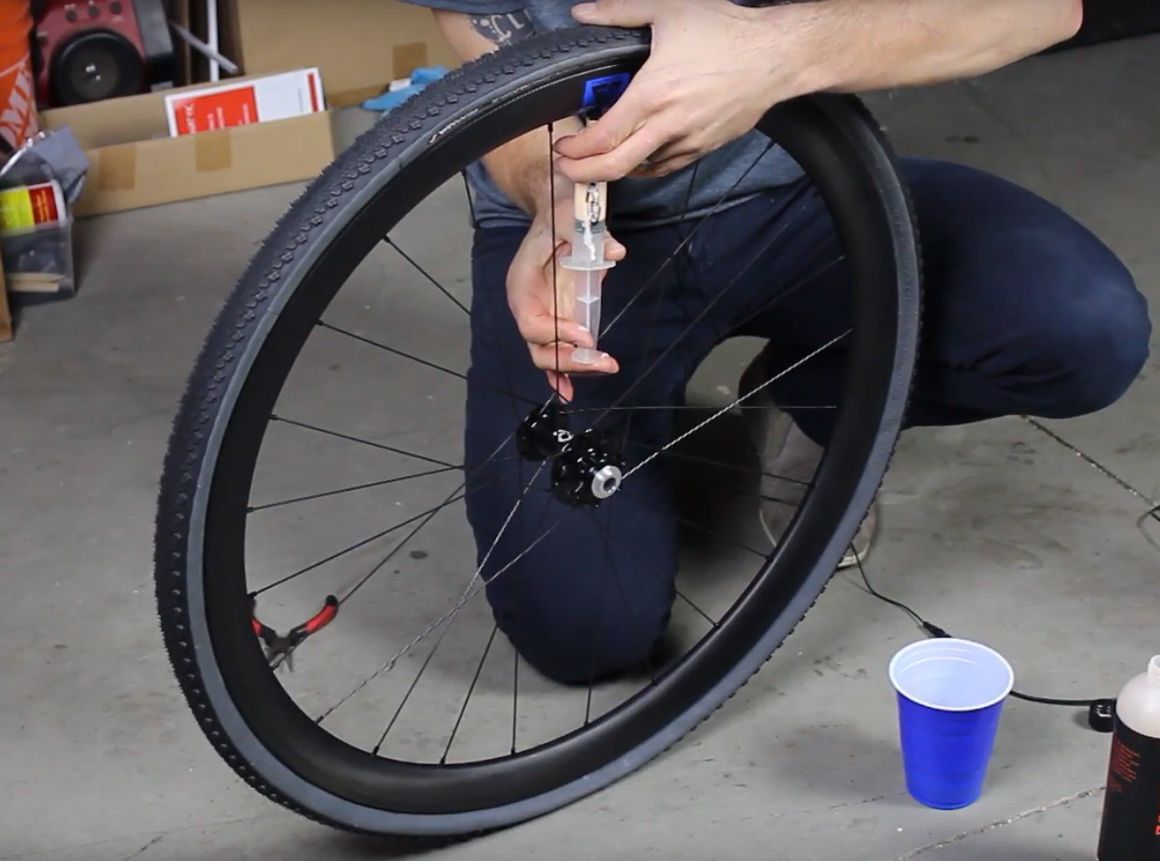
New tires have more porous sidewalls and can absorb more sealant compared to a tire that was set up tubeless in the past. Shake the wheel back and forth and listen to the sealant moving around. If you can’t hear anything, try adding more. The instructions on the tubeless sealant packaging state how much is required given the tire size. An injection tool can be used to add sealant through the valve by removing the valve core. Without an injection tool, the tire bead must be popped off the rim enough to pour sealant inside. Once inside the tire, rotate so the sealant flows to a spot where both sides of the tire are seated. This will help prevent spillage when re-installing the tire.
Helpful Video:
How to set up a CX wheel tubeless
If your tubeless troubles are not solved by this guide, leave a comment or email us (sales@lightbicycle).
March 20th, 2020 | Light Bicycle